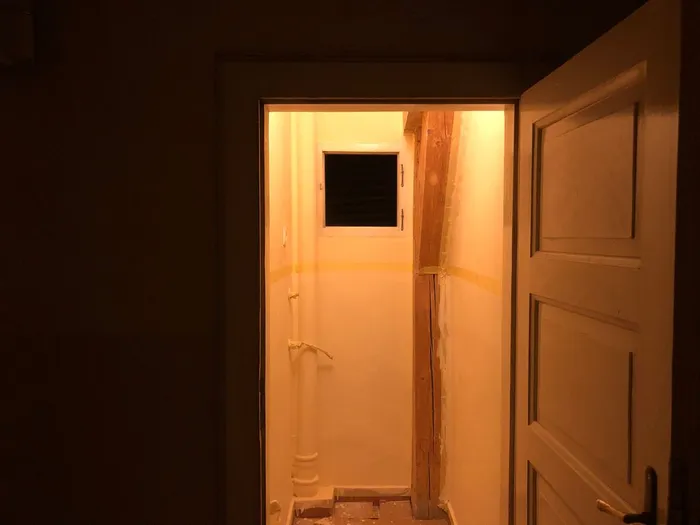
MiniOffice

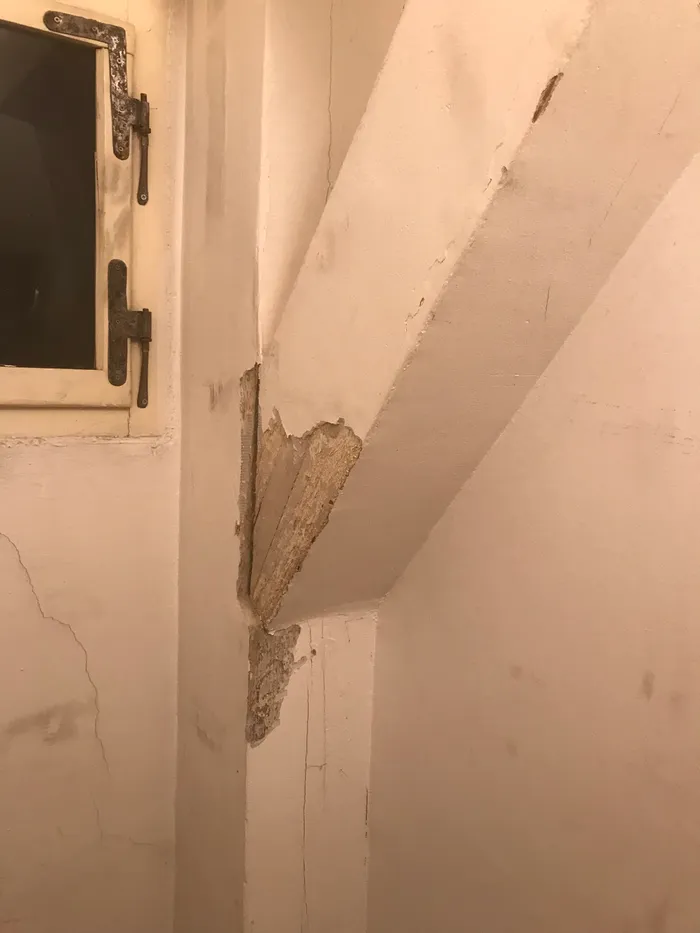
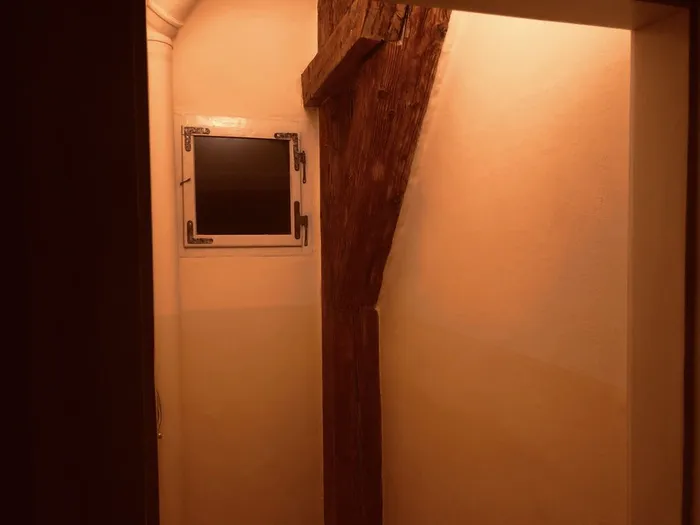
The soon-to-be office room just before beginning the project
Summary: This page documents building a small detached office in a former hallway bathroom in our family's Ljubljana apartment.
The office is located just across the hallway from the apartment; the basic form factor is a 2 m x 1 m rectangle (read: small!). The project involved running new electrical cable, installing outlets, refinished the walls, installing a light fixture, and sanding and refinishing the structural timbers, which were previously hidden behind a plaster coating.
Electrical
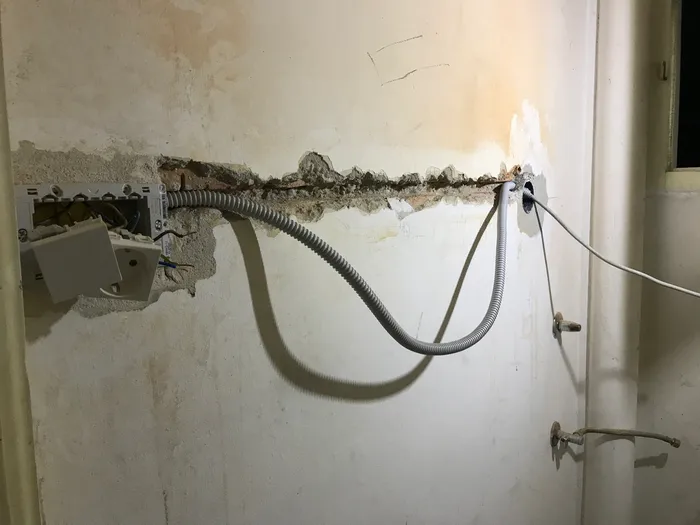
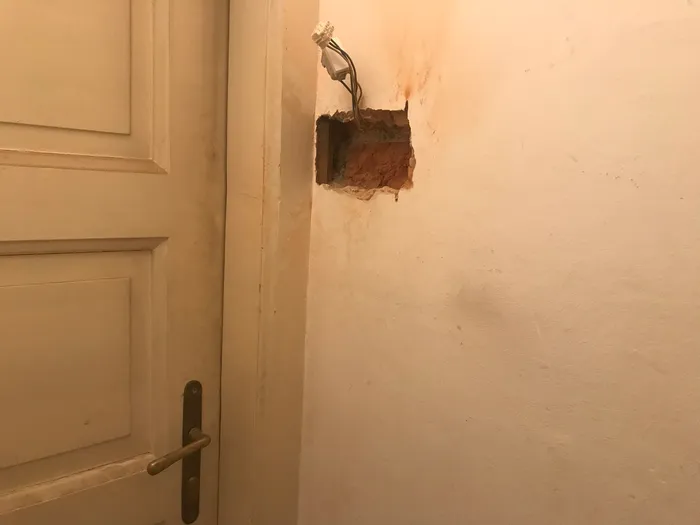
A freshly cut/excavated chase and conduit to supply outlets for a computer.
Initial status: When beginning the project, the room was supplied with a hot and a neutral line that powered a bare lightbulb hanging above the door. There were no outlets, and also no ground wire—the existing wiring predated current building practice where ground wires are run as a matter of course.
Summary of improvements:
- Replacing the existing hot and neutral wires in the office with modern 3-wire VDE cable (that includes a ground wire!)
- Installing outlets
- Cutting chases in the masonry wall and run conduit and cable for outlets
- Installing junction boxes
- Installing a proper light fixture to replace the bare dangling bulb
Electrical: Details
The existing wiring supplying the office ran from the main panel in my apartment through conduit in the hallway to a hallway junction box just outside the office, then through the hallway-office wall into the office. By a great stroke of luck, a 3-wire cable of wire of sufficient gauge happened to run continuously from the main panel in my apartment to this hallway junction box outside the office. Only the hot and neutral wires were connected in my main panel, but it was a simple matter of hooking up the ground wire to the ground busbar in my main panel, and voilà!, there was the for the office.
By another stroke of luck, the connection between the hallway junction box and office was made with conduit (in old masonry buildings in Slovenia you'll sometimes find wires built directly into the brick wall), so replacing cable was a simple matter of pulling old wires out while running new cable in (no need to drill a chase through the hallway-office wall).
With a solid ground, neutral, and hot wire running between the office and my main panel; I could then begin electrical work in the office itself. This involved:
- Replacing all existing wiring in the office with modern 1.5 mm2 VDE cable.
- Replacing the, erm, makeshift wooden junction box hewn out of a scrap piece of construction lumber that held the main light/switch junction with a modern fire-retardant high-impact polystyrene junction box.
- Installing a proper wall-mounted light fixture to replace the lightbulb dangling from the wall by its supply wires.
- Cutting chases into the masonry wall for new conduit and junction/fixture boxes. This was unpleasant because of a constant worry of bothering the neighbors (cutting/drilling into masonry, whether with an angle grinder or rotary hammer drill, is loud).
- Installing conduit and cable for outlets, and of course installing the outlets themselves.
Gallery: Electrical
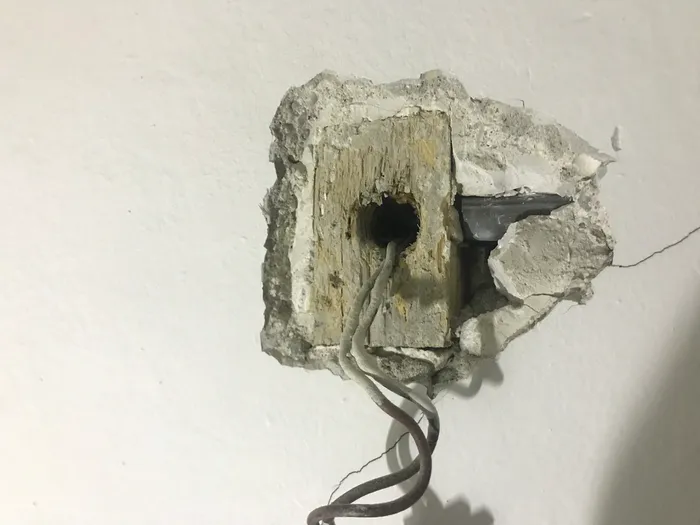
Old wooden "junction box"...
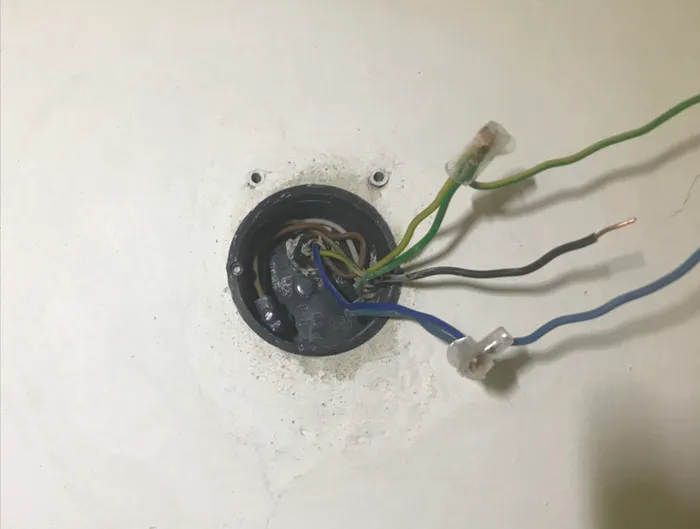
...and its modern replacement

Original bare lightbulb...
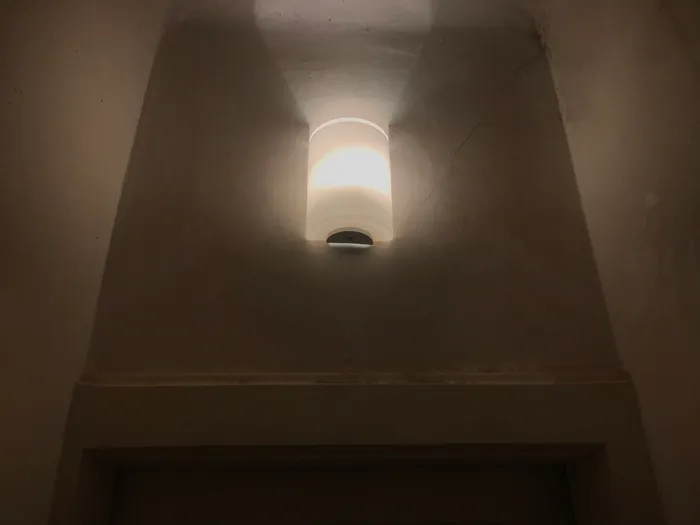
...and its new replacement
Hewn-out cavity for a new electrical box

Checking new box is flush...
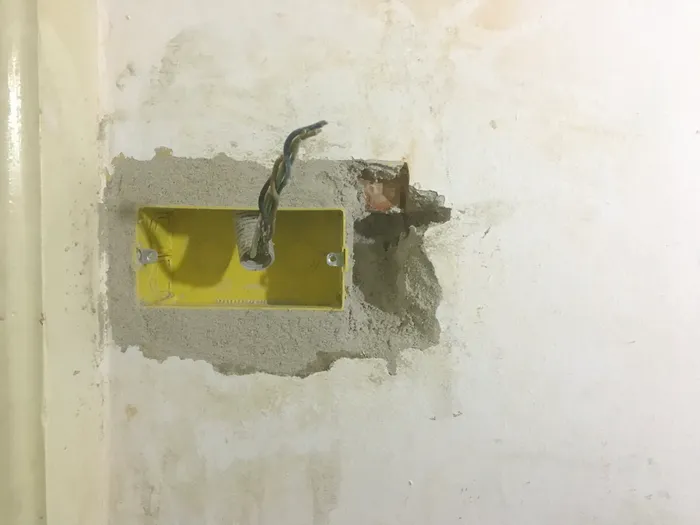
The new electrical box
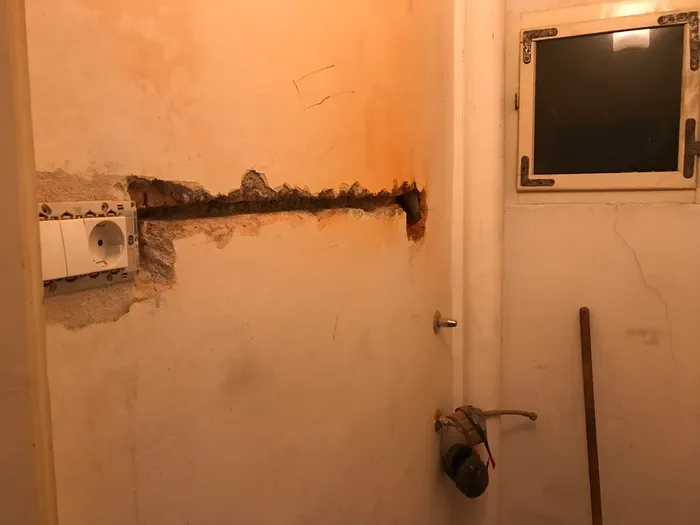
Cutting a new chase
Installing new conduit
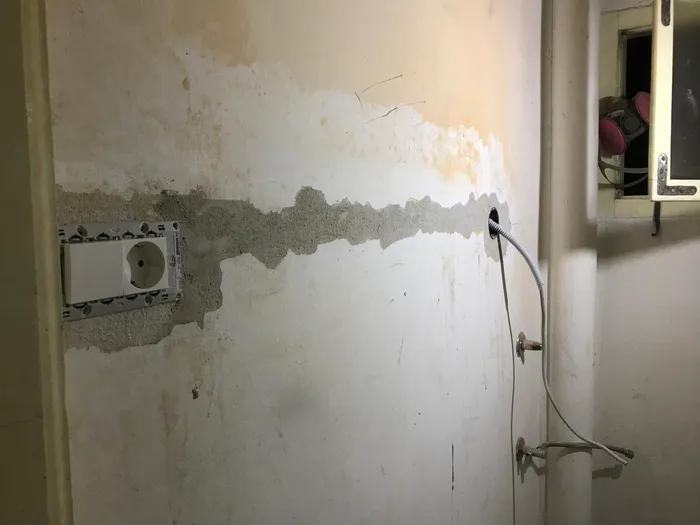
Conduit installed!
Refinishing timber framing

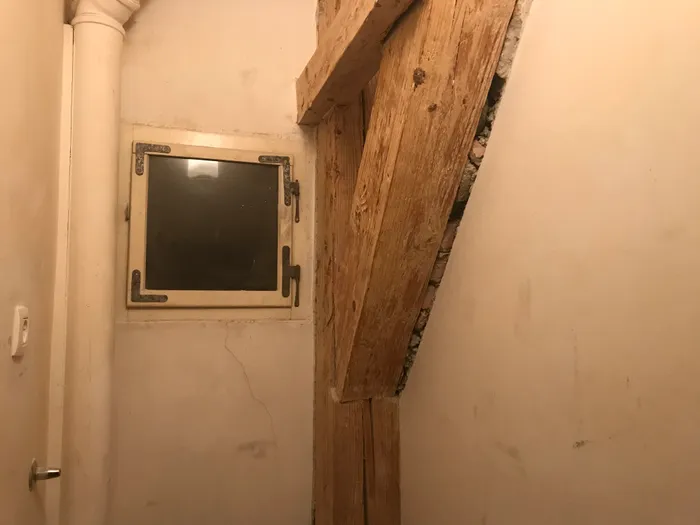
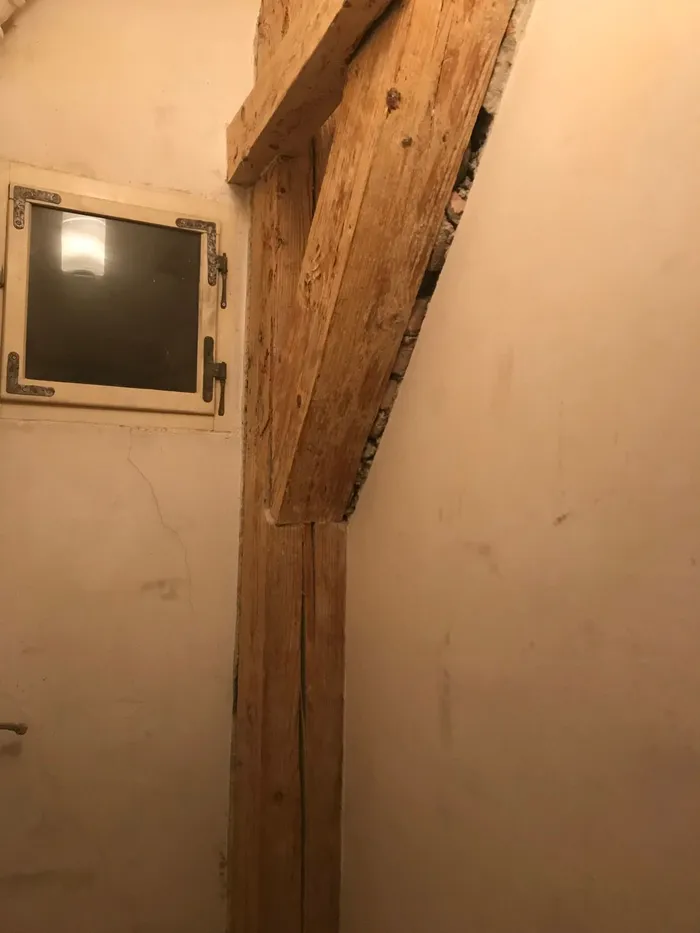
Re-exposed structural timbers after removing the original plaster coating.
Background: My building is masonry, but the roof is timber-framed. I happen to live on the top floor (i.e. under the timber-framed roof), and some of the structural timber framing supporting the roof happens to run through the office room. Unfortunately (at least if you ask me) this timber framing was covered with a plaster coating, concealing the beauty of the underlying wood! I am a sucker for timber framing, so I decided to expose and refinish the structural timbers. Here is the process:
Process
- Roughly scraping the plaster off the timbers with a thick-bladed 5-in-1-style putty knife.
- Grinding off lingering plaster bits with a flap disk attachment on an angle grinder.
- Sanding down the timbers with a random orbital sander.
- Refinishing the timbers with tung oil.
Aside: worrying about bothering the neighbors
Like cutting electrical chases into the masonry wall, sanding/griding the plaster coating off the timbers was unpleasant for all the noise it generated and the dust it raised. I don't mind the dust and noise myself—modern PPE protects you quite well—and was much more worried about bothering the neighbors! Angle grinders are loud, and the old interior door provides only token acoustic insulation, so the noise would ring out into the hallway and echo through the building. I did my best to work only in short bursts to avoid prolonged construction noise, and only at sane hours of the day. Thankfully no one complained.
Gallery: Stripping plaster off timbers
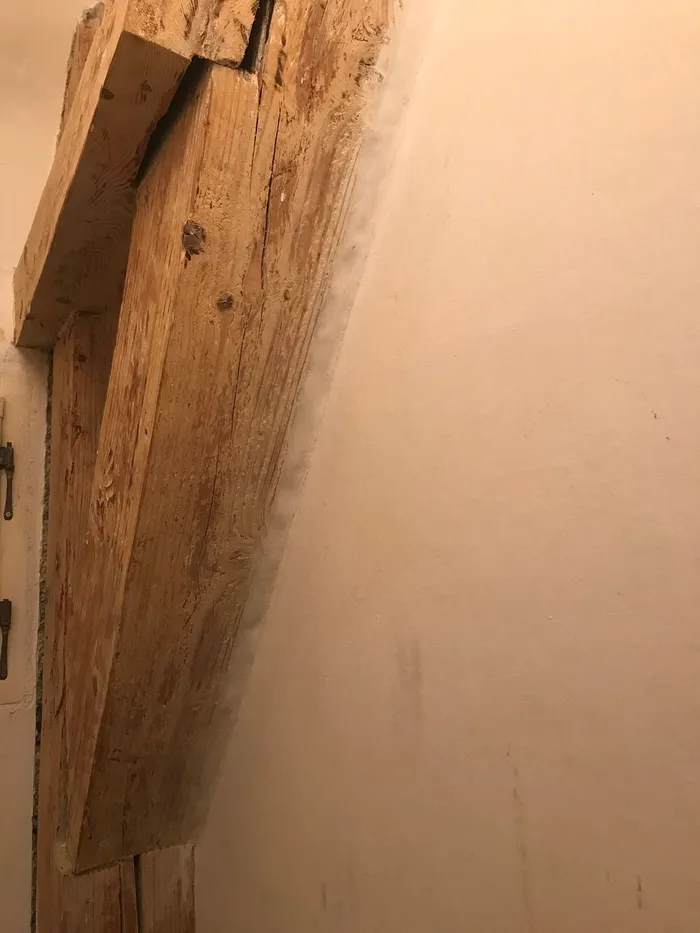
Timbers covered in plaster

First pass complete...
Sanding complete!
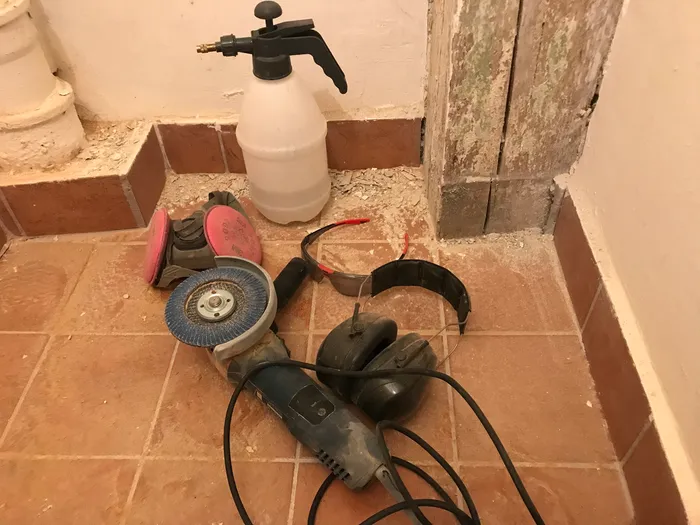
Tools
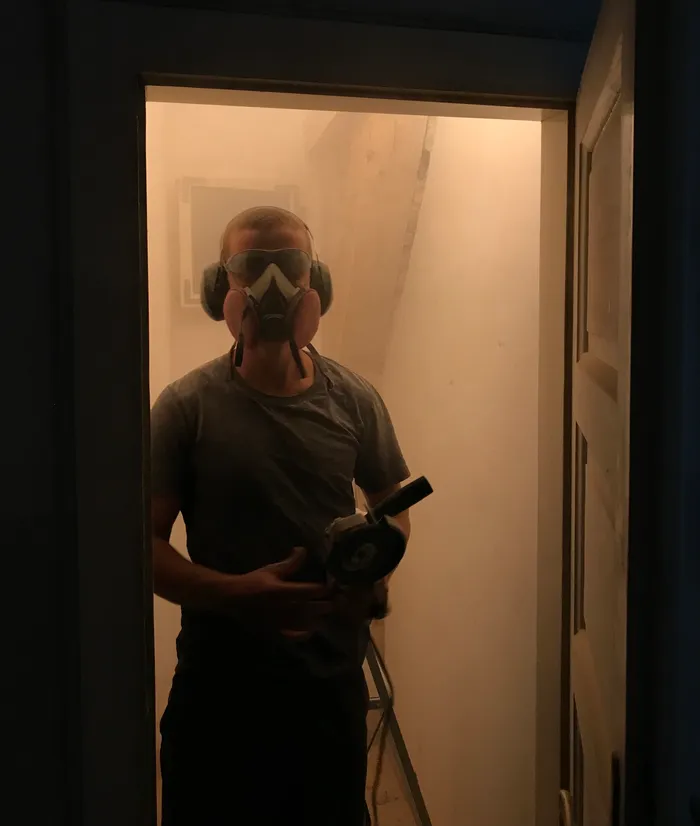
Dust, dust dust!
Oiling the timbers
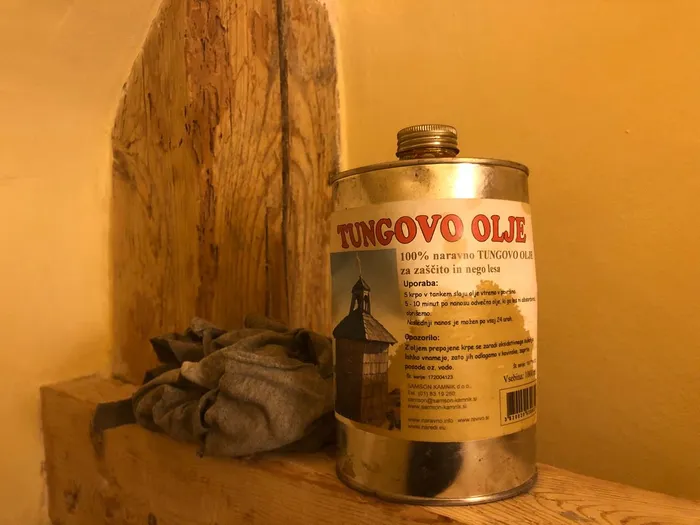
I finished the timbers with a tung oil—I find the smell gentler than than linseed oil (the other standard candidate for a finishing oil), which is particularly relevant in a small space. I happened to have a can of tung oil lying around waiting to be used, and these timbers were a perfect opportunity to use it.
There was nothing much to this step, you wet a rag with oil and apply to the timbers. As hoped for, the color of the timbers deepened and the grain grew more visible. I'm pleased with the result!
Before...
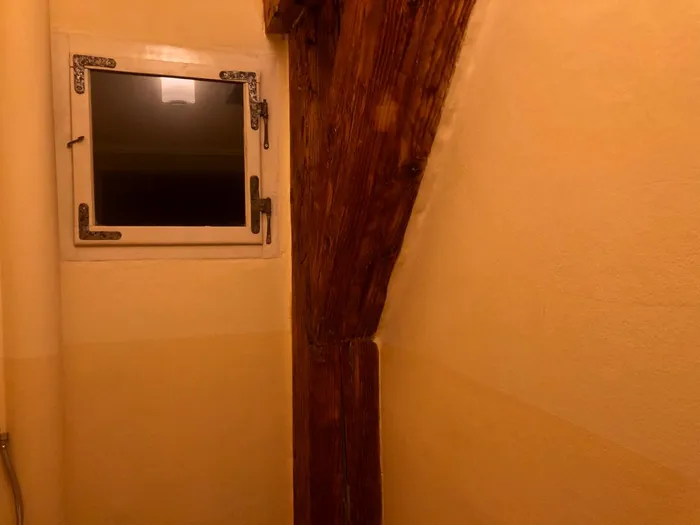
...and after
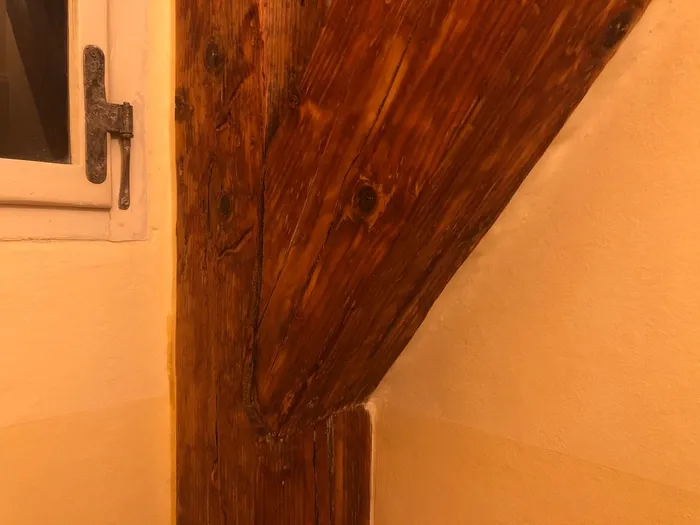
Close-up
Painting
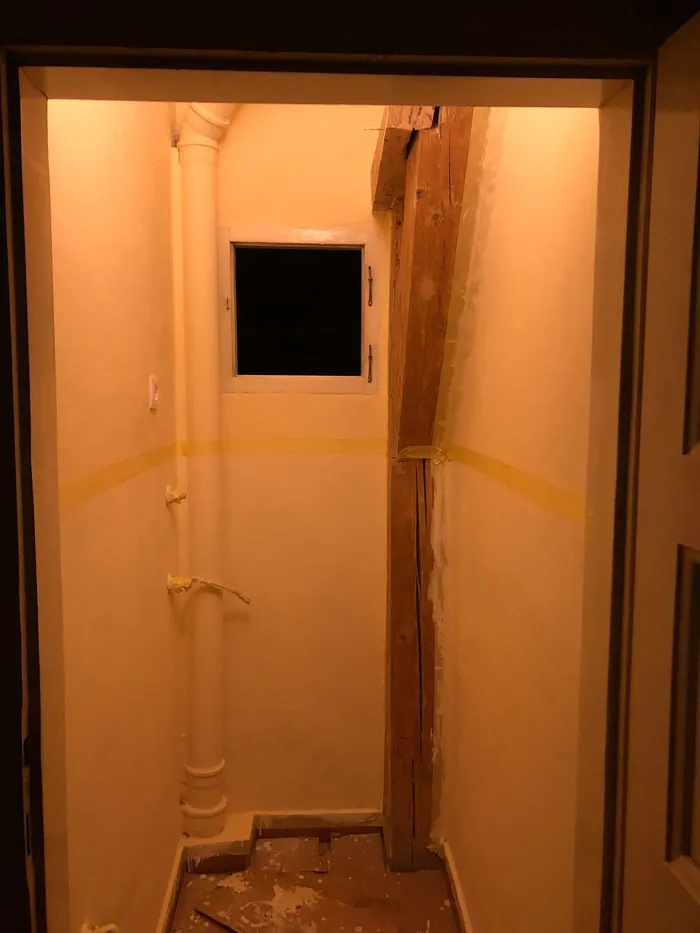
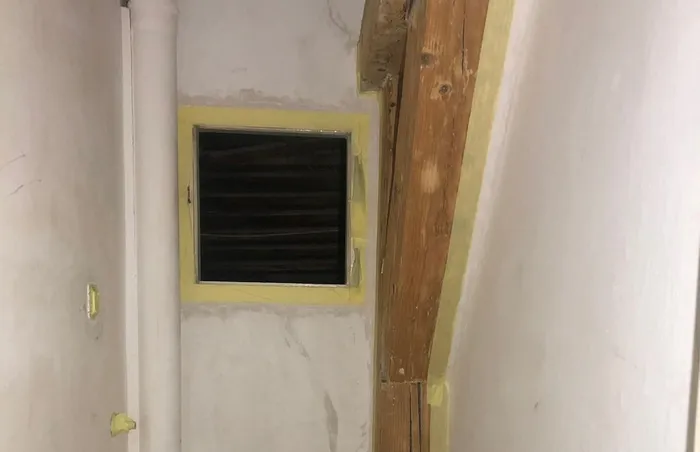
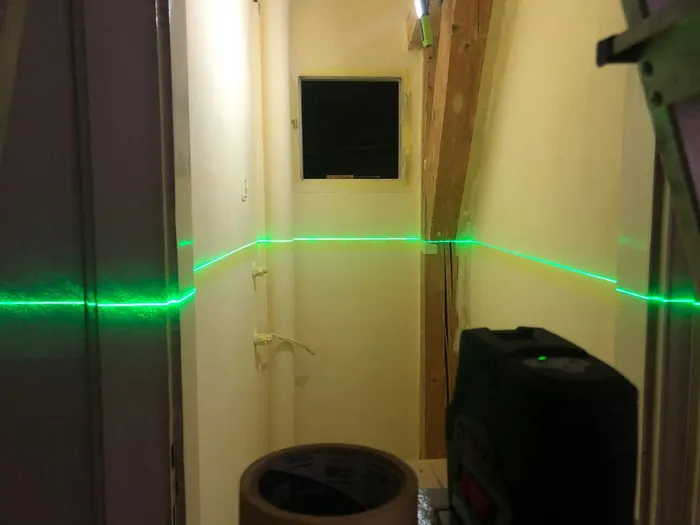
The room after the first coat of paint, with horizontal masking tape delineating the accent region.
Background: I painted the room with a limewash paint made by Kreidezeit GmbH, composed of marble lime hydrate, marble powder, sinter water, and methyl cellulose as a binding agent and thickener.
I chose a limewash paint for for its vapor diffusivity, natural composition (lack of VOCs, organic solvents, synthetic resins, etc. made sense in a small, enclosed space), good bond to the masonry substrate, and because the high alkalinity dramaticaly reduces the risk of mold.
The process was more or less standard:
Process
- I first patched cracks and gaps in the walls and ceiling using gypsum-based plaster, and went over particularly rough areas with a spackle-like filler compound to create a smoother surface to accept paint.
- I protected the timbers, window and door trim, and utilities with masking tape—I'm not skilled enough to trust myself to cut in by hand around all the nooks and crannies!
- I applied an initial base coat of paint over the entire room.
- I finished the bottom third of the room with a pastel-yellow accent, and the remainder of the walls and ceiling with a second coat of white.
Gallery: Painting
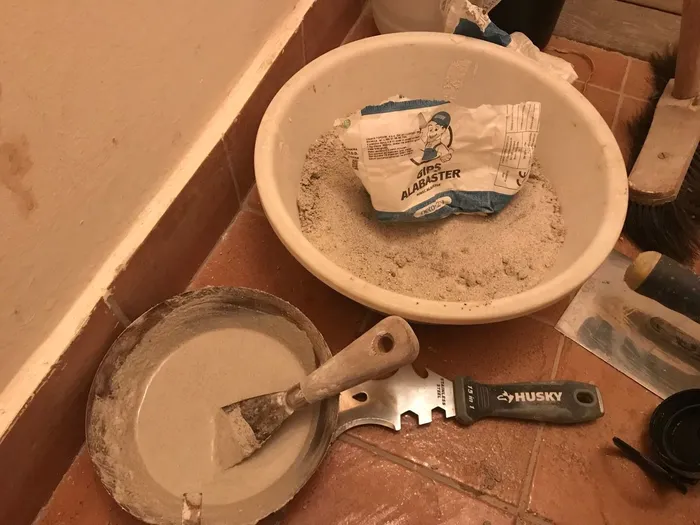
Plaster for patching gaps
Note the gap...
...now patched with plaster
Protective masking tape on
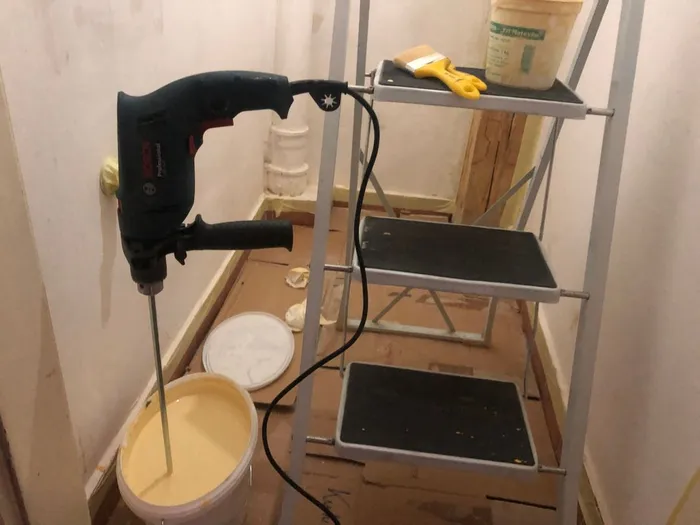
Mixing paint
First coat complete
Laying out accent area
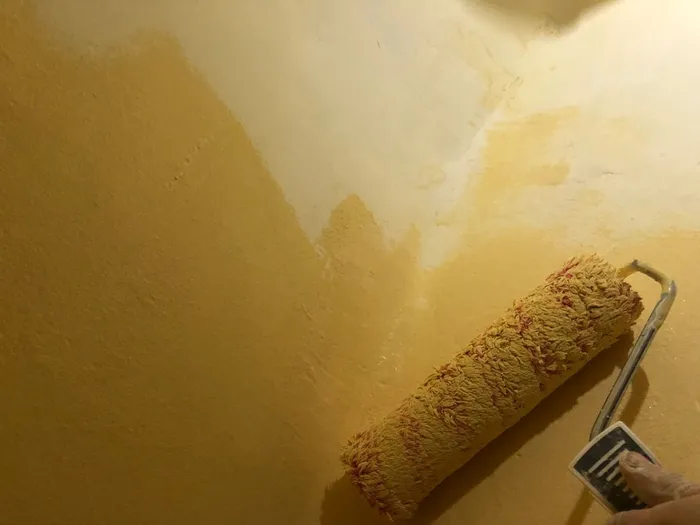
Rolling on paint
All done with painting!